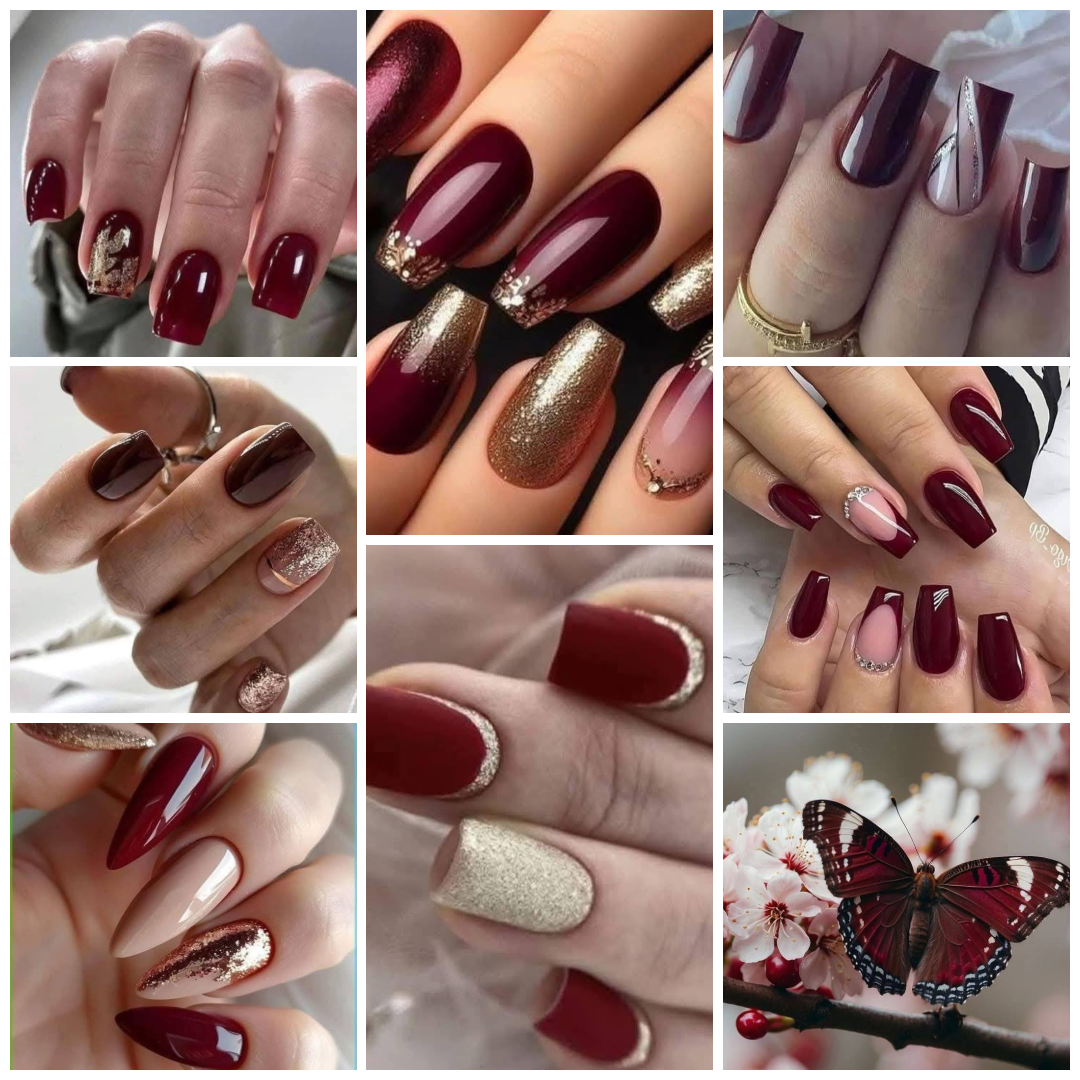
Hey nail art lovers! Are you constantly scrolling through Pinterest, saving pins of stunning manicures, and wishing you could achieve that perfect look? Well, you’re in the right place! Today, I’m absolutely thrilled to dive into one of the most timeless and elegant color combinations out there: burgundy and gold. This pairing screams sophistication, warmth, and a touch of festive glamour, making it perfect for autumn, winter holidays, or honestly, any time you want to feel chic and put-together. We’ll look at 7 different inspirations, ranging from simple accents to more intricate designs, and I’ll guide you on how you can recreate these Pinterest-perfect burgundy and gold nail designs right in the comfort of your own home. Get ready to elevate your manicure game!
Gathering Your At-Home Nail Art Toolkit
Before we jump into the specific designs, let’s talk tools. Having the right supplies makes all the difference between a frustrating attempt and a fabulous result. You don’t necessarily need everything on this list for every design, but here’s a good starting point for creating versatile burgundy and gold looks:
- Base Coat: Protects your natural nails and helps polish adhere better. A good foundation is key! (Amazon Link: Nail Base Coat ☍ )
- Top Coat: Seals your design, adds shine (or a matte effect), and prevents chipping. Choose glossy or matte depending on the look. (Amazon Link: Glossy Top Coat ☍ | Amazon Link: Matte Top Coat ☍ )
- Burgundy Nail Polish: The star of the show! Pick a shade you love, from deep wine to rich oxblood. Gel or regular polish works. (Amazon Link: Burgundy Nail Polish ☍ )
- Gold Nail Polish: This could be a metallic gold, a fine glitter, or a chunky glitter polish. (Amazon Link: Gold Glitter Nail Polish ☍ )
- Nude/Beige Polish: Useful for negative space designs or as an alternative base color. (Amazon Link: Nude Nail Polish ☍ )
- Gold Nail Foil & Foil Glue: For achieving that trendy, abstract metallic effect. (Amazon Link: Gold Nail Foil ☍ & Amazon Link: Nail Foil Glue ☍ )
- Fine Nail Art Brushes: Essential for creating lines, swirls, or detailed patterns. (Amazon Link: Fine Nail Art Brushes ☍ )
- Dotting Tool: Great for creating precise dots or placing small rhinestones. (Amazon Link: Nail Dotting Tool ☍ )
- Nail Striping Tape: Helps create super straight lines or geometric patterns. (Amazon Link: Nail Striping Tape ☍ )
- Rhinestones/Gems (Optional): For adding a bit of extra sparkle. (Amazon Link: Nail Rhinestones ☍ ) & Gem Glue (Amazon Link: Nail Gem Glue ☍ )
- Nail Polish Remover & Cleanup Brush: For correcting mistakes and achieving clean cuticle lines. An angled eyeliner brush dipped in remover works wonders! (Amazon Link: Cleanup Brush ☍ )
- UV/LED Lamp (If using gel): Necessary for curing gel polish. (Amazon Link: UV LED Nail Lamp ☍ )
(Quick Note: Many of these designs look like gel polish due to their shine and durability, but you can achieve similar looks with regular polish – it just might require a bit more drying time and a good top coat!)


Leave a Comment