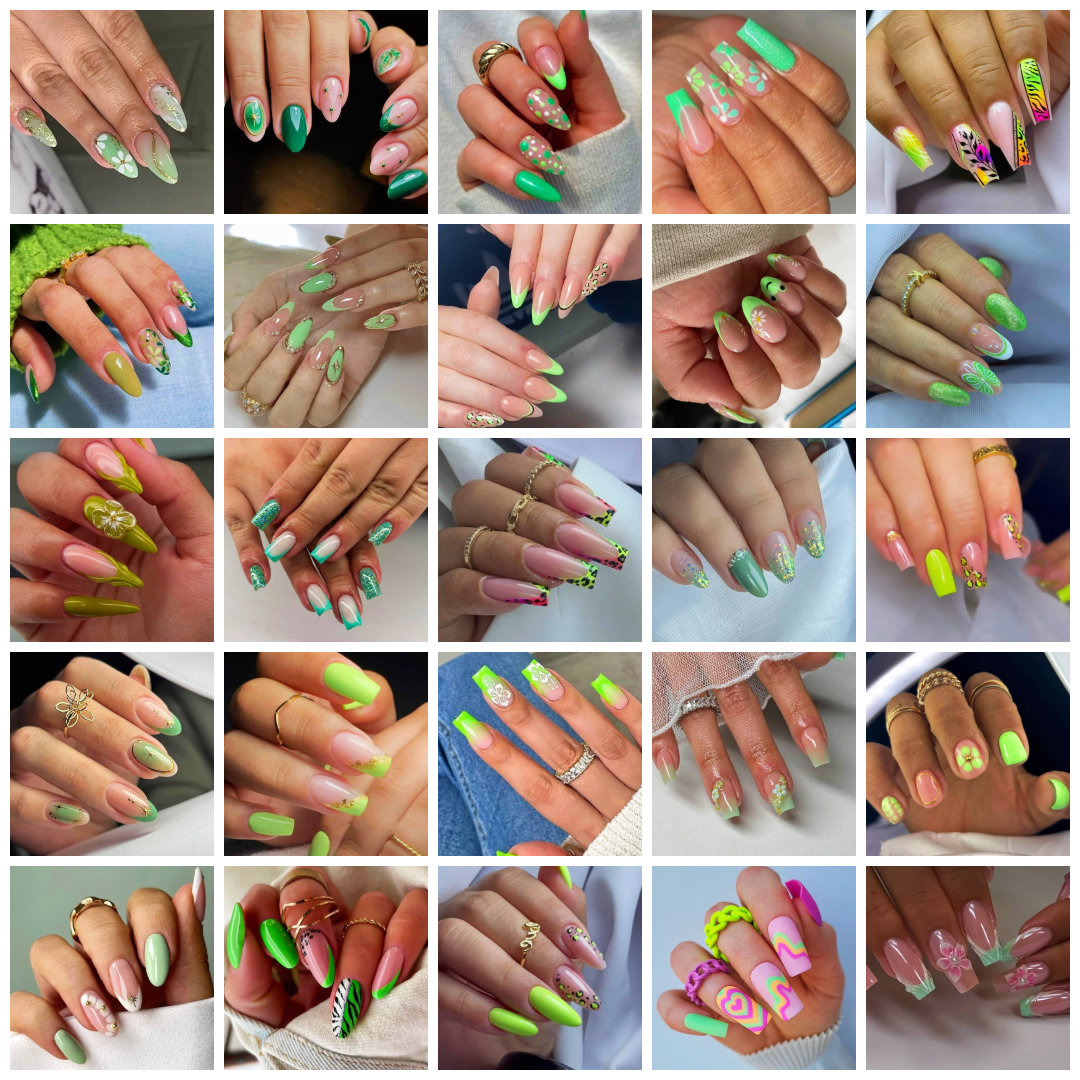
Hey nail art lovers! Are you feeling the green vibe lately? I know I am! Green is such a versatile and refreshing color, perfect for any season, but especially stunning for spring and summer. From soft mints and earthy olives to vibrant limes and dazzling emeralds, there’s a shade of green nail polish for every mood and style. I’ve been scrolling through endless inspiration lately (you know how it is!), and I’ve gathered some absolutely gorgeous green nail designs that I’m dying to share with you. The best part? Many of these looks are totally achievable at home! So, grab your polishes, and let’s dive into these stunning green nail art ideas and how you can recreate them.
Getting Started: Your DIY Green Nail Toolkit
Before we jump into the specific designs, let’s talk essentials. To recreate most of these looks, you’ll want a basic nail art toolkit. Having these on hand makes the process much smoother and more fun!
- Base Coat: Protects your natural nails and helps polish adhere better. A good base coat ☍ is non-negotiable for me!
- Top Coat: Seals in your design, adds shine (or a matte effect!), and prevents chipping. I love a quick-dry top coat ☍ for saving time.
- Green Nail Polishes: A variety is key! Think mint green ☍ , lime/neon green ☍ , olive green ☍ , and emerald green ☍ . Gel or regular polish works, depending on your preference. If using gel, you’ll need a UV/LED lamp ☍ .
- Nude/Pink Polish: Essential for French tips and negative space designs. A sheer nude pink polish ☍ is incredibly versatile.
- White & Black Polish: For details like flowers, animal prints, and outlines. Fine-tipped nail art polishes ☍ are helpful.
- Detail Brushes & Dotting Tools: Crucial for intricate designs. A good set of nail art brushes and dotting tools ☍ is a worthwhile investment.
- Gold Accents: Gold foil flakes ☍ , gold glitter polish ☍ , or gold striping tape ☍ add instant glam.
- Embellishments: Think tiny nail gems ☍ or pearls ☍ for extra sparkle. You’ll need nail glue ☍ or gem gel to apply them.
- Makeup Sponge: Perfect for creating ombre effects. Any cheap cosmetic wedge sponge ☍ will do.
- Clean-Up Brush & Acetone: For tidying up edges. An angled clean-up brush ☍ dipped in acetone works wonders.


Leave a Comment