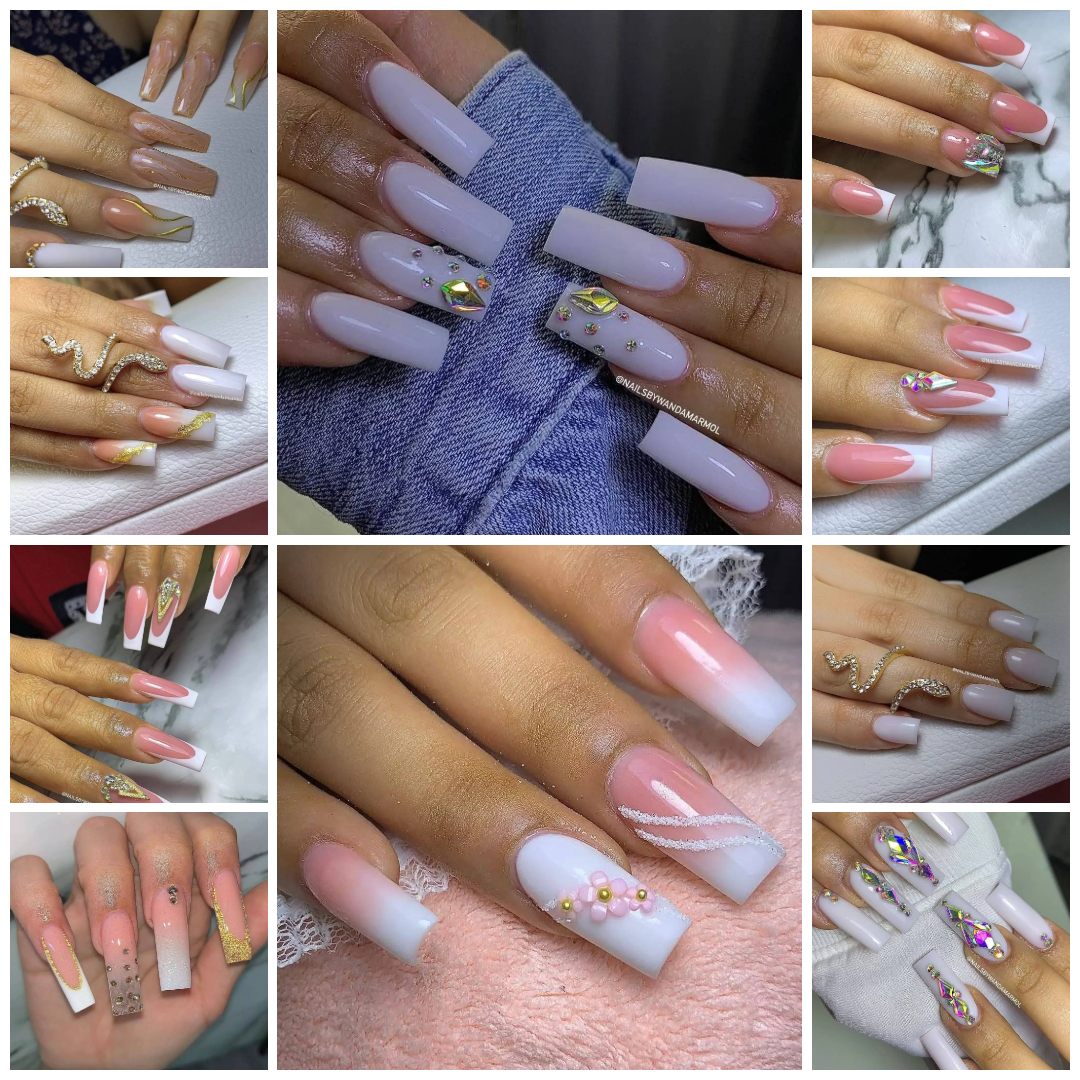
Hey nail enthusiasts! If you’re anything like me, you spend hours scrolling through Pinterest and Instagram, dreaming about those perfect, salon-quality manicures. Those milky whites, chic nudes, dazzling gold accents, and sparkling rhinestones? They look like pure luxury! Well, guess what? Achieving these stunning acrylic nail looks at home is totally possible with a bit of practice and the right supplies. I’ve gathered some incredible inspiration, and I’m here to walk you through how you can recreate these styles yourself.
Getting Started: Your Nail Art Toolkit
Before we dive into the specific looks, let’s talk essentials. To create these types of manicures, especially if you’re working with extensions, you’ll need a solid foundation of tools and products. Here’s what I recommend having on hand:
- Nail Prep: Cuticle pusher, nail file (180/240 grit is good), buffer block, nail dehydrator, and a nail primer. Proper prep is key for long-lasting nails!
- Extensions: You’ll need either an Acrylic System ☍ (acrylic powder in clear, white, and nude/pink shades, plus monomer liquid, and a dappen dish) OR a Gel System ☍ (builder gel in similar shades and a UV/LED lamp to cure). You’ll also need nail forms or nail tips with glue, depending on your preferred application method.
- Color & Design:
- Milky White Polish/Gel ☍ : The star of many of these looks.
- Nude Polish/Gel ☍ : For those sophisticated base colors.
- Gold Foil Flakes or Sheets ☍ : For adding that touch of metallic glam.
- Fine Gold Liner Gel Polish or Striping Tape ☍ : Perfect for creating sharp lines and swirls.
- Nail Rhinestones ☍ : Various sizes and shapes, including iridescent and crystal clear.
- Gem Glue or Thick Builder Gel ☍ : To securely attach those gems.
- 3D Flower Charms (Optional) ☍ : For looks requiring floral elements.
- High-Gloss Top Coat (Gel or Regular): To seal everything in and add shine.
- Tools:
- Nail Art Brushes ☍ : Especially a fine liner brush for details.
- UV/LED Lamp (Essential for gel products).
- Optional: An E-file can help with shaping and refining, especially with acrylics.
Okay, toolkit ready? Let’s get inspired!


Leave a Comment